Easy-Maintenance Random-Optional Image Gallery
A page or part of a page (example further below) can be dedicated for publishing images and optional captions. The images may be randomized when the page is loaded.
The images are displayed in flex boxes to be browser-width responsive.
The easy maintenance is because the image URLs and optional alt/caption text are pulled in from a plain text file. To change images, change the URLs in that text file and you are good to go.
In your web page, paste the code presented further below where you want your images to appear. In that code, you specify the width of the divs that will contain the images, whether you want them to appear randomized, and the URL of the text file where the image information is at.
Once it's set up, simply update the text file with the image URL information to update the images that are displayed on your website.
Live Example
Below is a live example of the Easy-Maintenance Random-Optional Image Gallery. The number of image columns you see here depends on the width of your browser window. (You can specify custom maximum column width for your images.)
This example has random set to true. If you reload this page, the images should be reordered.
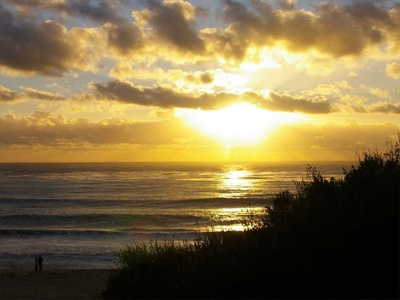
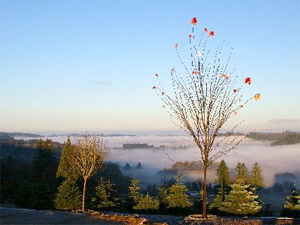
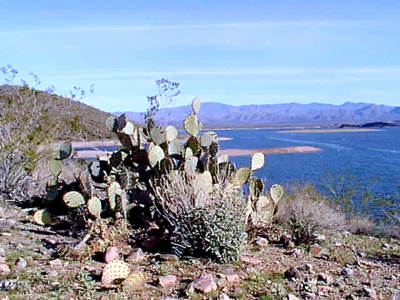
Implementation
The text file with the image information contains the URL of each image to be published. Optionally, each image can have alt and/or caption text.
Here is a copy of the text file for the above demonstration.
-- Image Gallery List --
To update images for the gallery, update this list.
Only lines that begin with http:// or https:// are considered to contain valid image data.
Type image SRC URLs and their optional alt/caption text for each image to publish.
The URL and alt/caption text need to be on the same line.

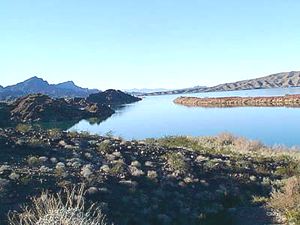
https://lightfocus.com/weatherphotos/coloradoriver.jpg Colorado River
https://lightfocus.com/weatherphotos/WA-nov.jpg Washington in November
https://lightfocus.com/weatherphotos/lg-carmel-ca-1-400.jpg Sunset on the Pacific
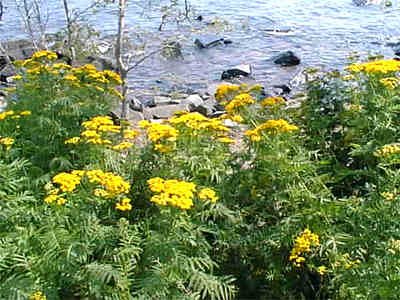
https://lightfocus.com/roadimages/flowersatbrighton.jpg Brighton Beach, Duluth, MN — on the shore of Lake Superior
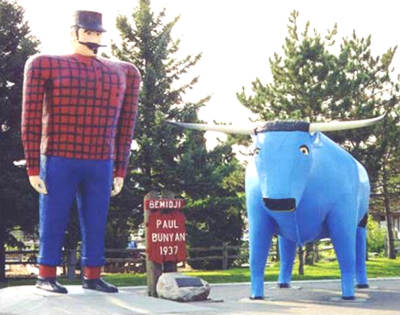
https://lightfocus.com/roadimages/paul_babe.jpg Paul Bunyan and Babe the Blue Ox, Bemidji, MN
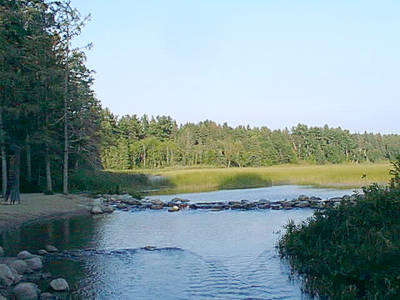
https://lightfocus.com/roadimages/headwaters.jpg The Headwaters of the Mississippi River
https://lightfocus.com/roadimages/desertlake2.jpg The desert meets the lake
The text file contains notes and the URLs of the images. Only lines that begin with http:// or https:// are considered to be images for the gallery.
The first thing to do for implementing an image gallery is place your image text file on your server. Make a note of its URL because you will need it for the rest of the installation.
The next thing to do is to copy the gallery source code in the text box below and place it on a PHP web page. It may be the only thing on the web page or it may be within other content on the page. (Notes follow.)
<style> .flex-boxes-container { display:flex; flex-wrap:wrap; justify-content:center; } .individual-flex-box { width:150px; margin:0 10px 20px 10px; } </style> <div class="flex-boxes-container"> <?php /* Customization */ $URLofImageURLtextFile = 'https://www.willmaster.com/possibilities/images/20220503gallery.txt'; $RandomizeImages = true; // Publish images in order or randomized? Specify false or true (no quotes). $ImageBoxTemplate = <<<TEMPLATE <div class="individual-flex-box"> <img src="{{IMAGESRC}}" style="max-width:100%;" title="{{IMAGEALT/CAPTION}}" alt="{{IMAGEALT/CAPTION}}"> <div>{{IMAGEALT/CAPTION}}</div> </div> TEMPLATE; /* End of customization */ $pictureList = array(); foreach(preg_split('/[\r\n]+/',trim(file_get_contents($URLofImageURLtextFile))) as $line) { $line = trim($line); if(preg_match('!^(https\://|\./)!',$line)) { $pictureList[] = $line; } } if(isset($RandomizeImages) and $RandomizeImages) { shuffle($pictureList); } foreach( $pictureList as $picture ) { $ta = preg_split('/ +/',$picture); $imageSRC = array_shift($ta); if(count($ta)) { $AltCaption=implode(' ',$ta); } else { $AltCaption = 'An image'; } $AltCaption = str_replace("<",'<',$AltCaption); $AltCaption = str_replace(">",'>',$AltCaption); $AltCaption = str_replace("'",''',$AltCaption); $AltCaption = str_replace('"','"',$AltCaption); $toPublish = str_replace('{{IMAGESRC}}',$imageSRC,$ImageBoxTemplate); $toPublish = str_replace('{{IMAGEALT/CAPTION}}',$AltCaption,$toPublish); echo $toPublish; } ?> </div><!-- class="flex-boxes-container" -->
Notes —
The classes:
The above source code has two CSS classes — class flex-boxes-container and class individual-flex-box
The class flex-boxes-container has two required declarations, display:flex; and flex-wrap:wrap;, that need to remain as they are. The justify-content:center; may be changed or omitted. And other CSS may be added.
The class individual-flex-box contains the width:150px; declaration. Here is where you can specify the width of the divs containing the images. The margins may be changed and other CSS may be added.
In the rest of the source code, you'll see the two classes mentioned (they are colored blue or red). Those spots are for your reference so you can see where the classes are used.
The PHP customization:
The PHP customization is a few lines below the style sheet (below the cancel </style> tag).
$URLofImageURLtextFile is the variable for the URL to the image information text file, the file you created as the first thing to do for implementing an image gallery. Currently, the URL is to this article's demonstration so you can use it for testing. You then change that URL to your own image information text file.
$RandomizeImages is the variable for instructions whether to randomize the images. Use the word true (not within quotes) for randomized images or the word false (also not within quotes) to display the images in the order specified in your image information text file.
$URLofImageURLtextFile is the variable for the template for publishing the div and image. The template code is between the two lines that contain the word TEMPLATE. Here is an excerpt from the above source code.
$ImageBoxTemplate = <<<TEMPLATE
<div class="individual-flex-box">
<img src="{{IMAGESRC}}" style="max-width:100%;" title="{{IMAGEALT/CAPTION}}" alt="{{IMAGEALT/CAPTION}}">
<div>{{IMAGEALT/CAPTION}}</div>
</div>
TEMPLATE;
The {{IMAGESRC}} placeholder will be replaced with the URL obtained from the image information text file.
The {{IMAGEALT/CAPTION}} placeholders will be replaced with the optional alt/caption in the text file. If no alt/caption is provided in the text file, "An image" is assumed.
The {{IMAGEALT/CAPTION}} placeholder is at three places in the template — the title attribute, the alt attribute, and as a caption. Each is optional:
-
title="{{IMAGEALT/CAPTION}}"This will insert the alt/caption text into the
imgtag so that the text pops up when the mouse first hovers over the image. If you prefer not to have thetitletag, remove that part from the template. -
alt="{{IMAGEALT/CAPTION}}"This will insert the alt/caption text into the
imgtag as thealtattribute. Generally, an alt attribute is desirable as text to display if the image can't be found and also for screen readers. Still, if you prefer not to have thealttag with the image, remove that part from the template. -
<div>{{IMAGEALT/CAPTION}}</div>This will insert the alt/caption text below the image as a caption. If you prefer not to have an image caption, remove that part from the template.
That's all the customizations.
The gallery source code is now ready for testing. If it is not yet in a PHP web page (with a .php file name extension), put the source code into the page. As mentioned, this may be for an entire page or for part of a page.
When you have it installed and working, you will realize this really is an easy-maintenance image gallery. Simply edit the text file to make changes to the gallery.
This article first appeared with an issue of the Possibilities newsletter.
Will Bontrager


